> For the complete documentation index, see [llms.txt](https://docs.bluefletch.com/bluefletch-enterprise/llms.txt). Markdown versions of documentation pages are available by appending `.md` to page URLs; this page is available as [Markdown](https://docs.bluefletch.com/bluefletch-enterprise/product-guides/bluefletch-launcher/device-loss-prevention/luggage-tag.md).
# Luggage Tag
## Overview
Luggage Tag is a Launcher feature that enables organizations to stay on top of device visibility, data security, and workforce efficiency at all times. It locks the device on the following scenarios: a) when the device goes out of network range, i.e. when the user is not connected to an approved network specified in the Launcher configuration; or b) when the device goes beyond the geofence restriction of its respective site geolocation (longitude/latitude). It then automatically unlocks the device when it is back in range or when a connection is restored to an approved network. Authorized users can immediately unlock the device using an admin-defined passcode.
## User Guide
Luggage Tag allows IT administrators to limit where corporate devices can be used. When it is activated, security rules can be set up to allow access to sensitive information and/or corporate data when the device is within the network range specified in the Launcher configuration.
1. When the Launcher goes out of network range, after a period of time the Launcher locks the screen to prevent unauthorized use of the device.
2. The Launcher periodically plays an audio alarm for 10 seconds while the device is in Luggage Tag mode.
3. When the device returns to the network range, the Launcher unlocks the screen.
4. If the device is locked, authorized users can unlock the screen to continue working offline.
## Feature Configuration
To set up Luggage Tag mode for a particular device profile or device group, please follow the steps below:
### Enabling Luggage Tag
To enable the Luggage Tag feature, add a luggageTag configuration section in the Launcher JSON file:
```json
"luggageTag": {
"enable": true,
...
},
```
### Setting Up the Range
To set up the range where Luggage Tag mode activates, enter the list of network SSIDs. If the Launcher is not connected to any of these networks, it enters Luggage Tag mode:
```json
"approvedNetworks": [
...
"office-wifi-1",
"office-wifi-2",
...
]
```
### Defining Lock Screen Information
You can customize the logo, address, and phone number for the lock screen when luggage tag mode is enabled. An example configuration is shown below:
```json
"luggageTag": {
...
"logo": "https://www.image.com/url/to/logo.png",
"line1": "123 Blue Fletch Street",
"line2": "Atlanta, GA 45678",
"email": "help@bluefletch.com",
"phoneNumber": "(855) 529-6349",
...
},
```
*Note: The lock screen only displays what is defined.*
### Setting Up the Lock Screen Delay
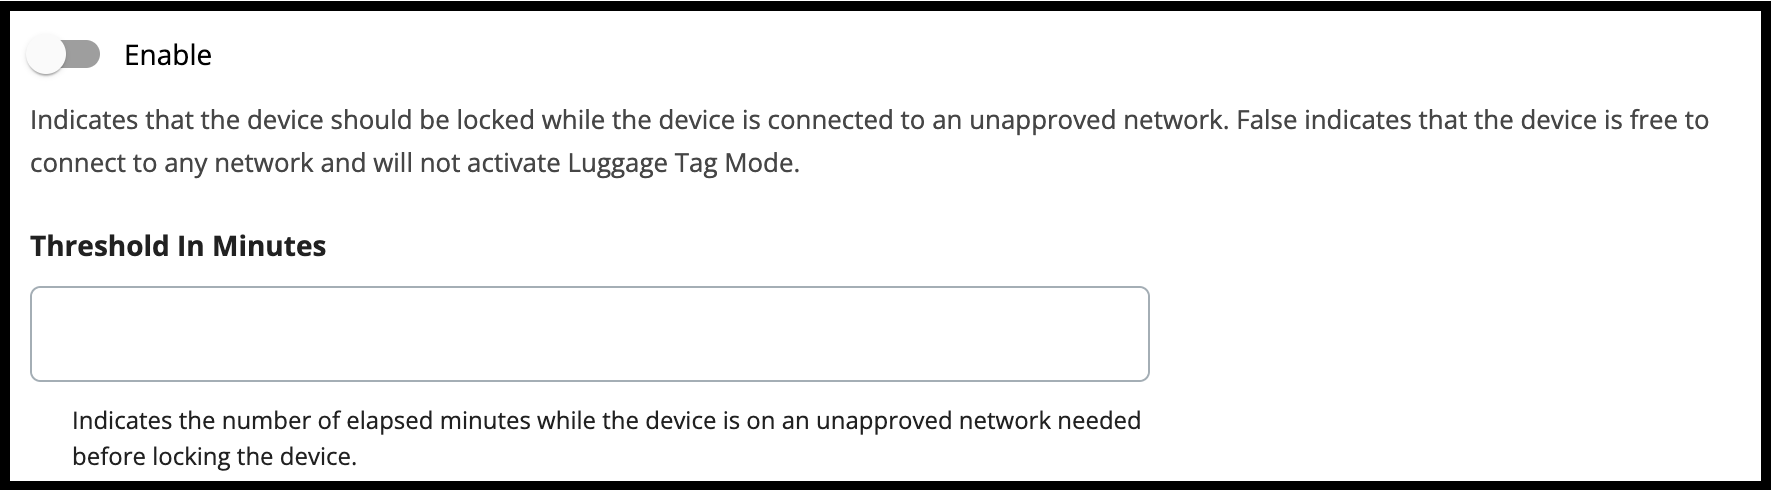
Luggage Tag mode activates after leaving an approved network for a specified period of time. To configure Luggage Tag mode activation timing, define the number of minutes in the configuration:
```json
"luggageTag": {
...
"thresholdInMinutes": 30,
...
},
```
Threshold In Minutes
### Setting Up the Audio Alarm Settings
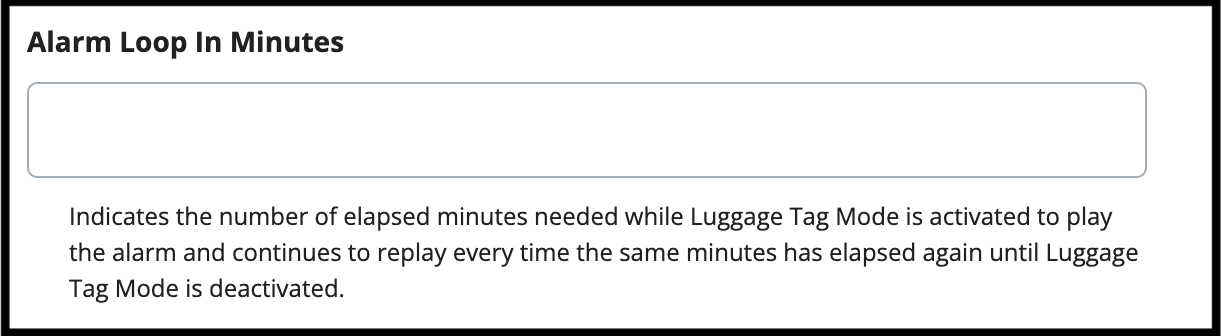
When the Luggage Tag Mode activates, an alarm triggers. The alarm sounds for a few seconds (fixed) only. If the device is still out of range, the alarm sounds off at 10-minute intervals (configurable). The example below show the loop configuration for the alarm to sound every 10 minutes:
```json
"luggageTag": {
...
"alarmLoopInMinutes": 10
},
```
Alarm Loop In Minutes
{% hint style="info" %}
Note: setting "alarmLoopInMinutes": 0 will disable the alarm.
{% endhint %}
### Defining the Unlock Passcode
Sometimes, the device may lose network connectivity and may have to bypass the Luggage Tag mode. When you enter the passcode, the device unlocks temporarily. In this scenario, you can define a passcode in the configuration using the SHA256 format:
### Enabling Geofence Settings
As a pre-requisite, the geolocation (i.e. longitude and latitude) of respective sites have to be properly set in Site Information Service so that it can be used as a reference point of the geofence luggage tag capability. Once configured, devices that go beyond the `geofenceRangeInMeters` will trigger the Luggage Tag mode. Returning the device within the `geofenceRangeInMeters` will restore access to the device.
```json
"luggageTag": {
"enable": true,
"thresholdInMinutes": 1,
"alarmLoopInMinutes": 10,
"logo": "https://picsum.photos/300/200",
"line1": "BLUFLETCH",
"line2": "SAMPLE LINE ",
"email": "help@bluefletch.com",
"phoneNumber": "(855) 529-6349",
"useGeofence": true,
"geofenceRangeInMeters": 100,
"geofenceUpdateInterval": 5000,
"geofenceMinDistanceThreshold": 0
},
```
{% hint style="info" %}
Geofence Functionality was introduced in Launcher 4.
{% endhint %}
## Putting It All Together
For the example described above, the full configuration for the Luggage Tag mode is as follows:
{% hint style="info" %}
Luggage Tag Mode was introduced in Launcher 3.8.x.
{% endhint %}
---
# Agent Instructions
This documentation is published with GitBook. GitBook is the documentation platform designed so that both humans and AI agents can read, navigate, and reason over technical content effectively. Learn more at gitbook.com.
## Querying This Documentation
If you need additional information that is not directly available in this page, you can query the documentation dynamically by asking a question.
Perform an HTTP GET request on the current page URL with the `ask` query parameter, and the optional `goal` query parameter:
```
GET https://docs.bluefletch.com/bluefletch-enterprise/product-guides/bluefletch-launcher/device-loss-prevention/luggage-tag.md?ask=&goal=
```
`ask` is the immediate question: it should be specific, self-contained, and written in natural language.
`goal` is optional and describes the broader end goal you are ultimately trying to accomplish on behalf of the user. GitBook uses it to tailor the answer towards what is most useful for that goal.
The response will contain a direct answer to the question and relevant excerpts and sources from the documentation.
Use this mechanism when the answer is not explicitly present in the current page, you need clarification or additional context, or you want to retrieve related documentation sections.